I know all of you who are familiar with our recent kitchen saga have been waiting so long for a kitchen reveal! I have been dreaming of the day I could write this post myself.
Well. It was a very, very slow process. My kitchen is now totally updated and redesigned, but to tell you the truth, it happened so incrementally that it was a little underwhelming! One or two changes would take place and then it would be weeks before anything else happened! That’s the nature of an unplanned renovation. The last receptacle cover was put in the week before Thanksgiving. (Construction started in April.) 
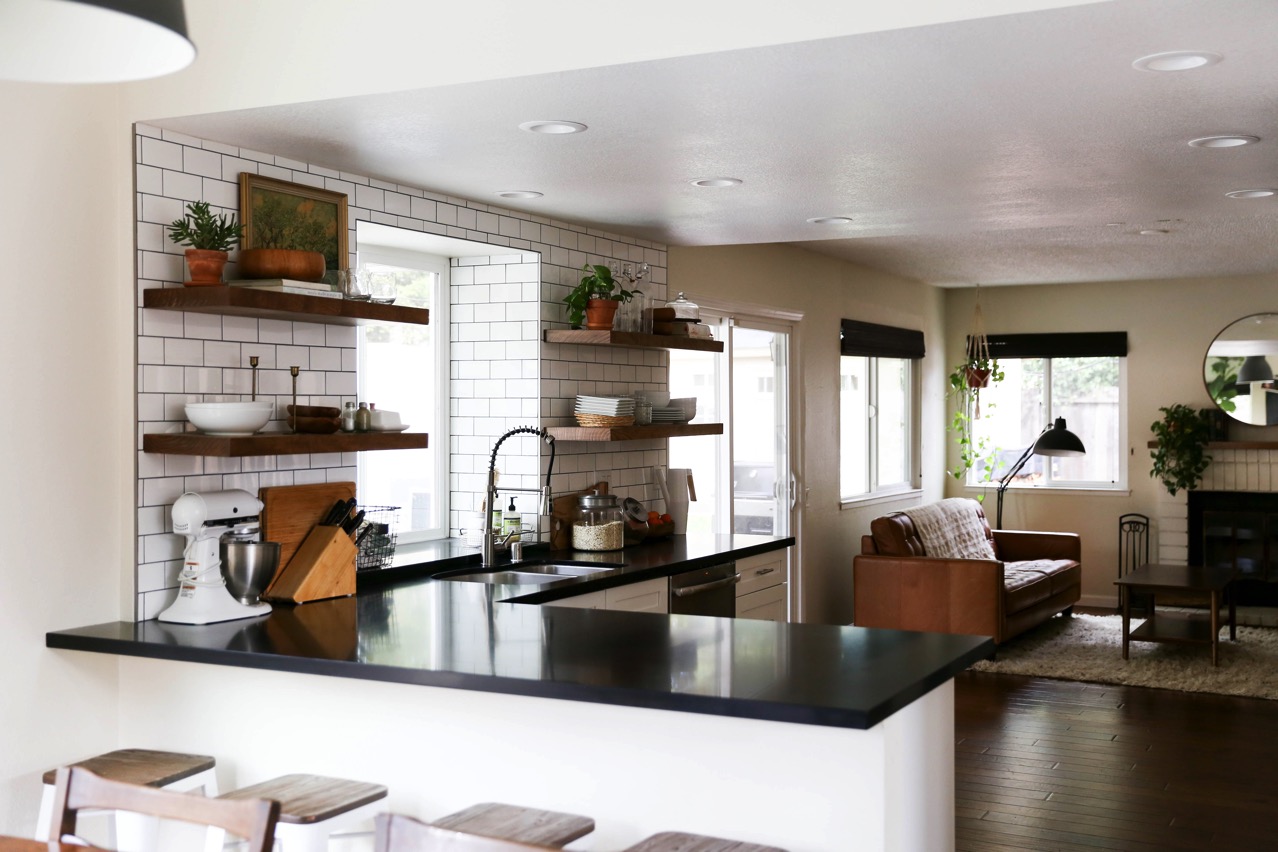
The Story
About three weeks before our kitchen was torn out, David and I had a discussion in which we agreed we could be happy with the current state of our kitchen, bathrooms and windows until the house was paid off. (These are the major eyesores/liabilities in our house). If you’ve been reading my blog for a while, you know this “content with what we have” conversation has been an ongoing one! I had fixed up our kitchen with paint and styling a few years ago. (You can see what it looked like “before” here.)
Anyhoodles. Our house has needed a lot of work; more than we realized when we got it! The kitchen and baths were original to the construction of the home in ’87 aside from a few cosmetic updates. The windows were pretty bad and one bathroom is only partially functional. Because of our commitment to live debt-free, we figured on these fixes being at least five to six years out if we were aggressive.

One night while making dinner (a Friday night, of course) we noticed a spot of moisture and a funny smell in one of our upper cabinets. Long story short, the drain coming from out master shower had broken at a joint, flooding cabinets and flooring. The leak was invisible, as it ran behind the cabinets and under floor boards.
By the time any demolition came into the picture, mold had had it’s heyday. After taking out the moldy cabinets and floor boards, nothing in the kitchen would be salvageable. The demolition also included the floor and part of the walls in my dining room. Because water. (It travels…)
The entire kitchen needed to be replaced.
So YEAH. Our homeowner’s insurance paid for my kitchen/dining room! It was an insane price tag that I cannot imagine paying out of pocket. We also had a very gracious insurance adjuster that we got to know over the summer.
During our months of construction, we just had to hang on for the ride! We had the option to move into a furnished home via insurance, but chose to stay home. My kitchen was a gaping hole for a long time. We had a refrigerator in our family room, a “camp kitchen” set up in our dining room, and a dishwashing station out in the garage. All of our kitchen was packed in boxes stacked high in a spare bedroom upstairs. Anytime we needed something, someone would have to hustle upstairs and dig through those boxes.

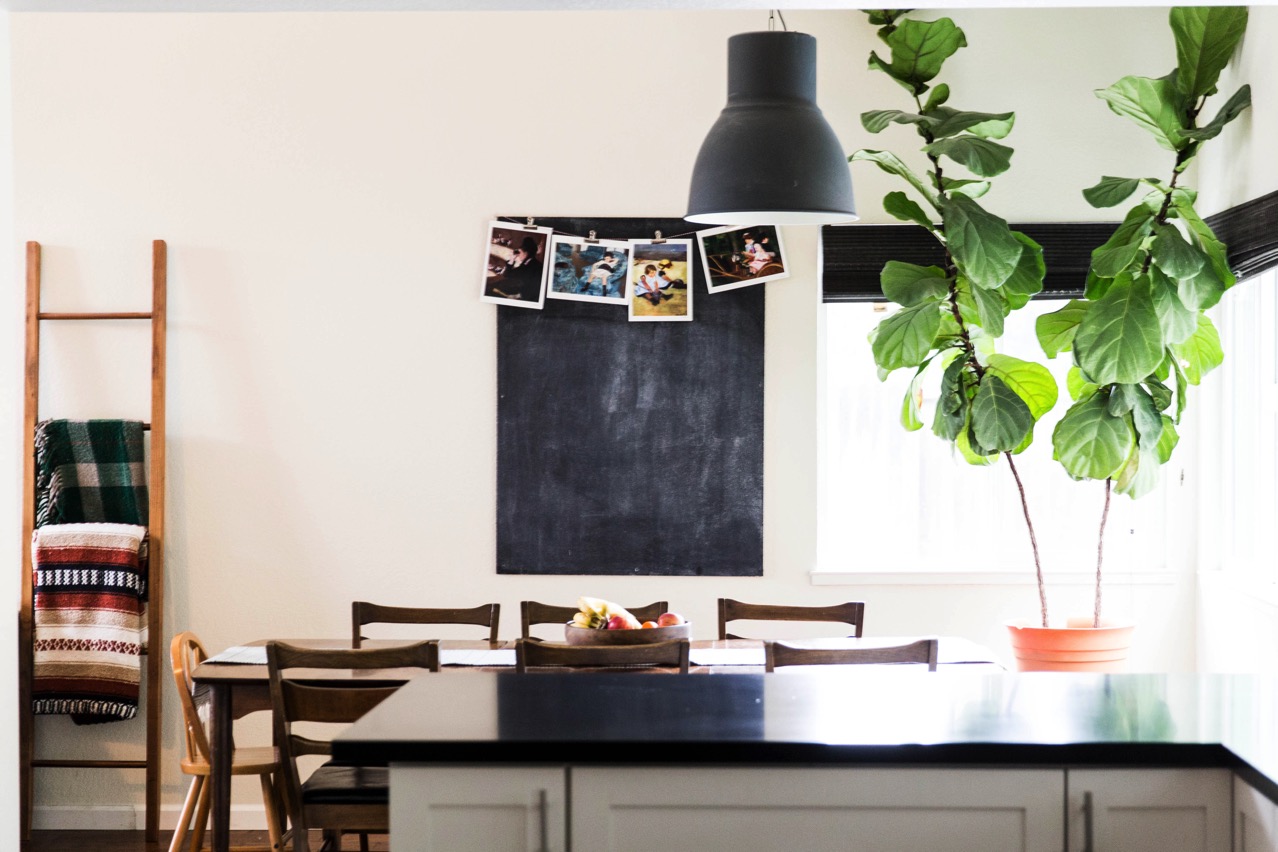
And the DUST! I think I may have vacuumed up the last of it this week! One week I would would finally get things back in place and then contractors would be back to move it all around! So, it was a big mess, and not the most fun, but as you can see, it was worth it!
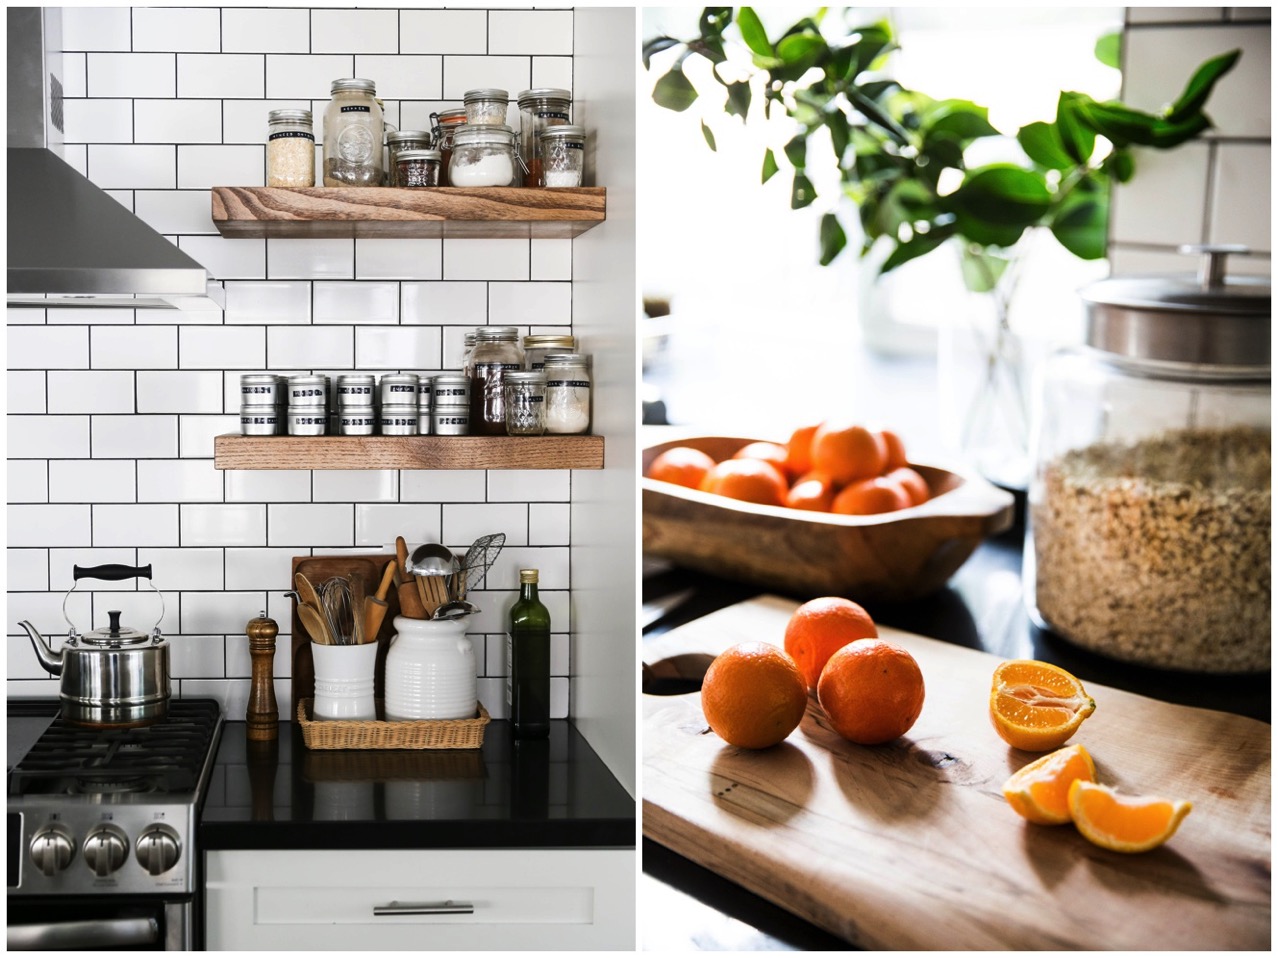
What We Did
We were able to not only make the space prettier, but got to make sure everything behind those walls was just right. We added functionality with a redesigned floor plan and were also able to save some money by patching the floors instead of replacing all flooring.
This savings enabled us to get the new windows we desperately needed! This is a big house with like a bajillion windows, about 75% had no screens. Those dark brown aluminum suckers were not only energy inefficient and ugly, but sad on a nice fall day when you wished you could open a window and get a breeze.
Is that amazing? I could not have dreamed this up you guys! In regards to a redesign, I had no idea where to begin. I knew I wanted some open shelving, buuuuut that was about all. It was total paralysis from there. However, I have a good friend who loves to design, and she texted me unprompted one night with a plan she had drawn up for me! And that is just what we used.
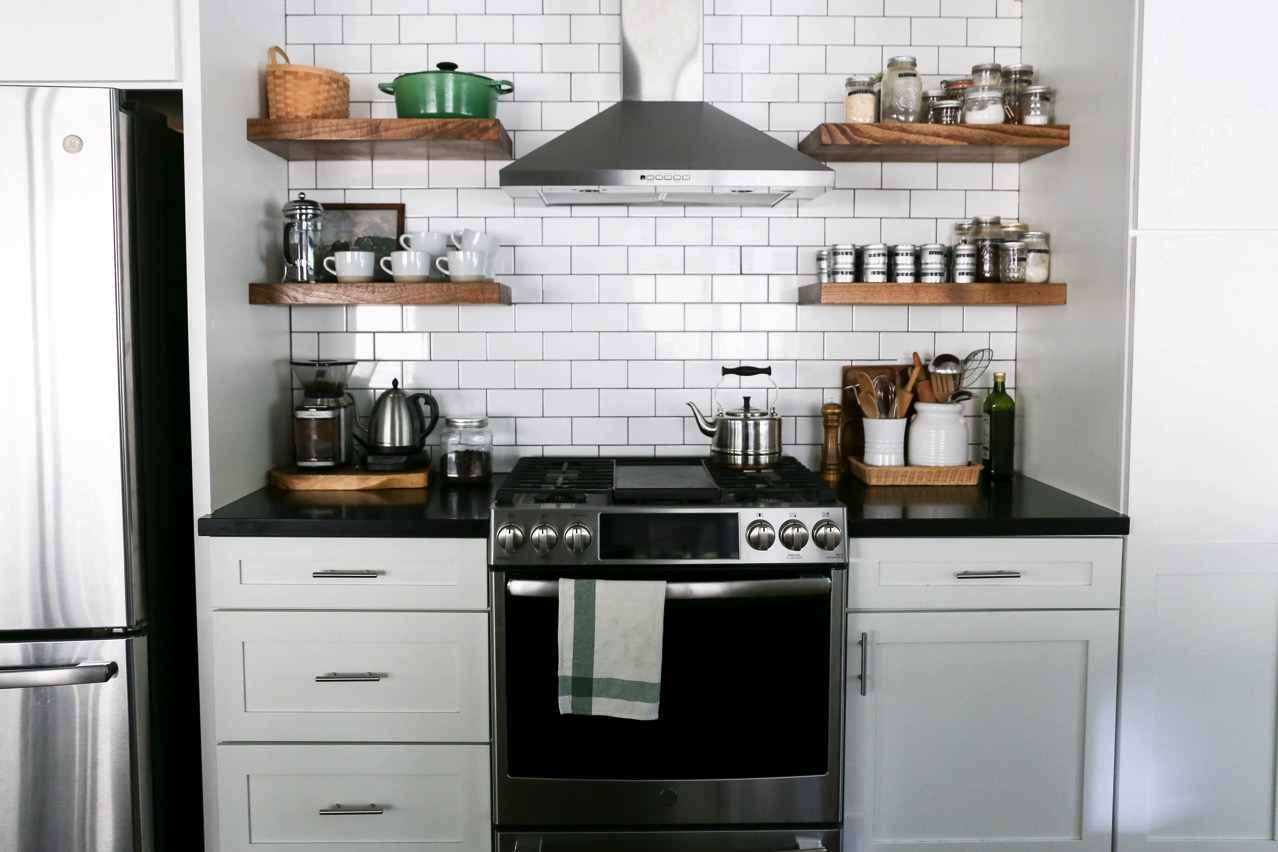
We knocked out the wall between our kitchen and dining room and moved our peninsula to that side of the kitchen. The stove and vent was moved to the East wall. And my favorite modification: the refrigerator, which used to be located in a terrible spot (next to the narrow door way between our kitchen and dining) was moved to the other (more spacious) end of the wall!
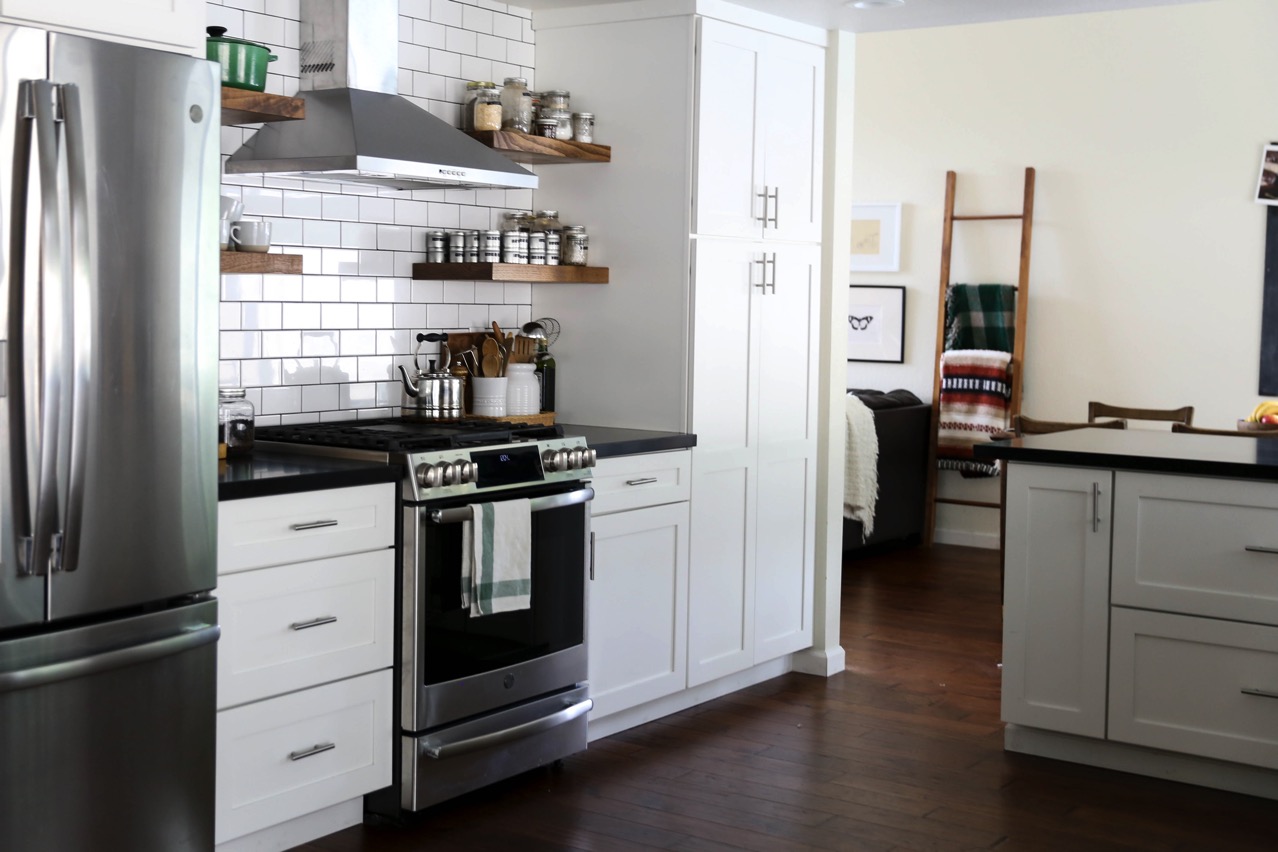
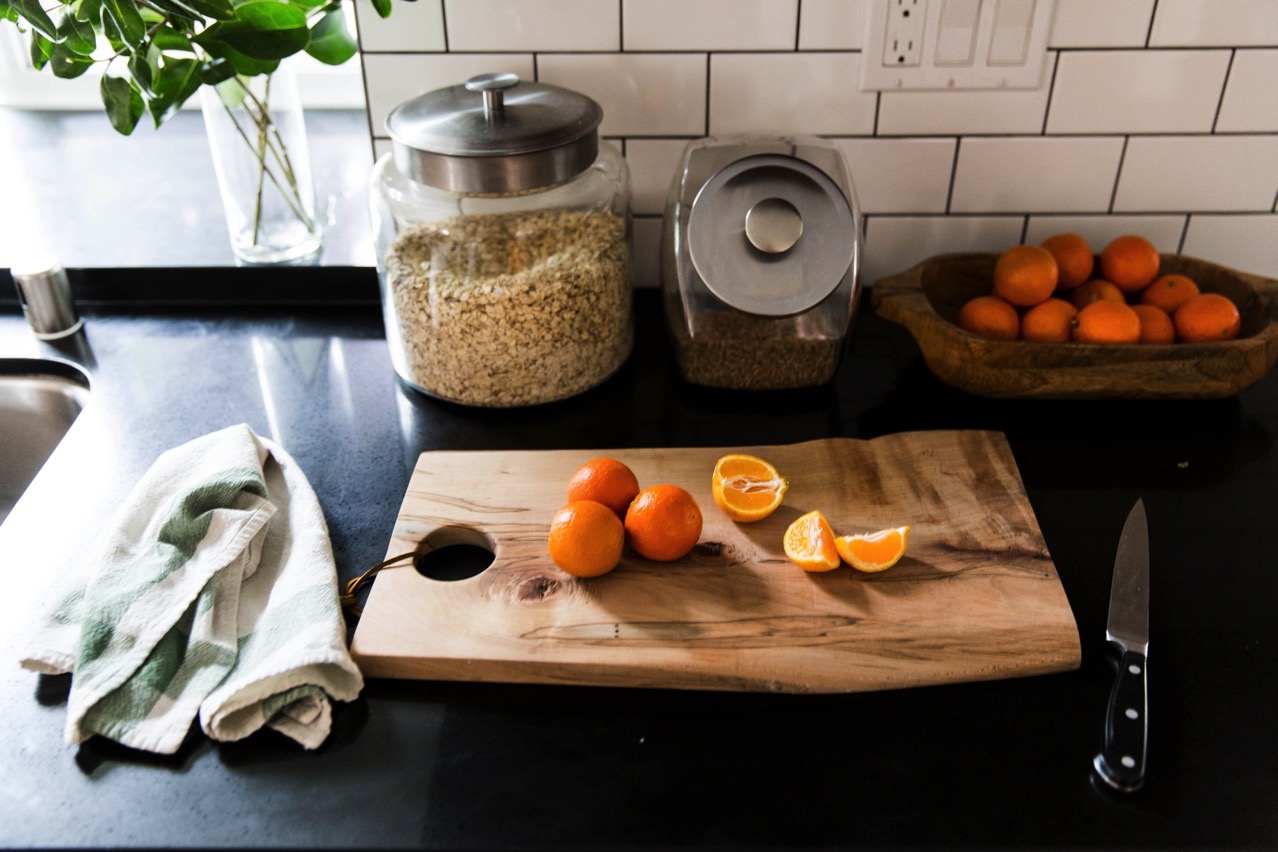
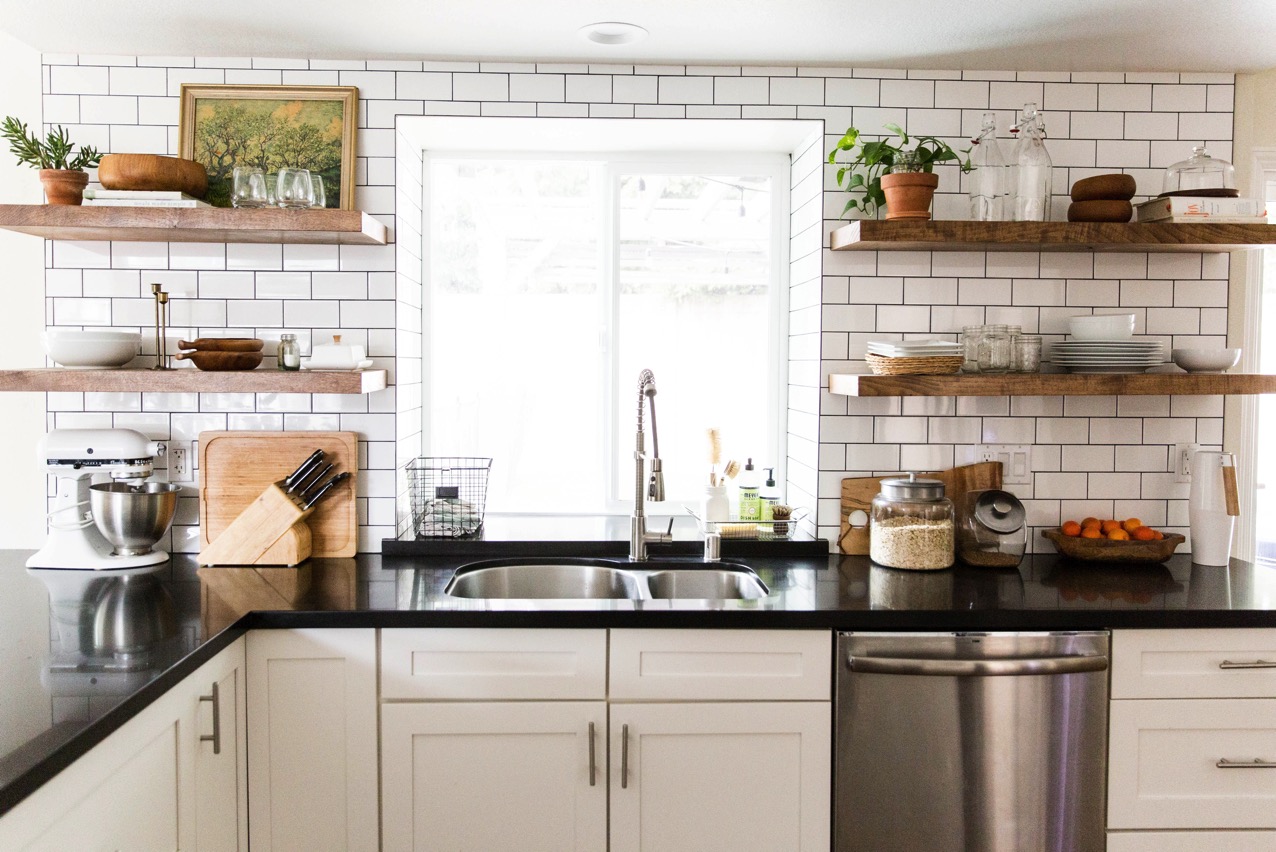
The next part is where Pinterest really came in handy! All we had to do was pull up my kitchen board and voila! I was able to pinpoint just the finishes I wanted. Many kitchen design decisions were already made via years of pinning, which David found he really appreciated. I chose white Shaker style cabinets, black quartz counter tops, open wood shelving, and subway tile. To tell you the truth, it’s not a far cry from my old kitchen! I think I really made friends with the old gal, and her high-contrast look apparently grew on me.
The Shelves
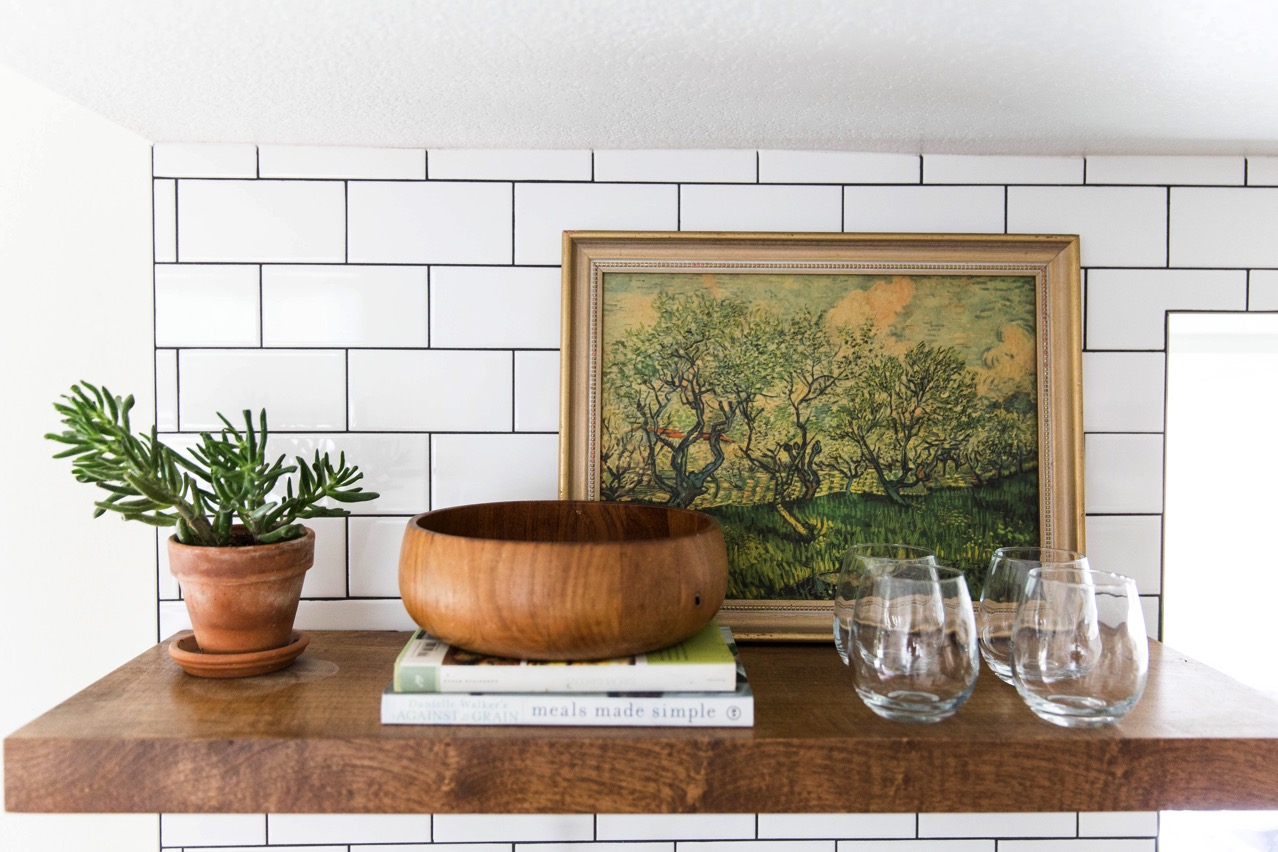
I have gotten some questions about where we got our floating shelves. The answer is careful planning, measuring and boring things like that. 🙂 Also, you will need a drill press and a custom jig! In a nut shell, my shelves are “custom”. David designed, constructed, and installed them. We got some tips from a few friends who already have these in their kitchen and planned out where we wanted them before the backsplash went in. Our contractor installed huge bolts in the studs. We got slabs of ash from a local mill that we drilled perfectly placed holes in and stained ourselves (because we didn’t want to pay $700 for them to drill the holes.)
As you might have guessed, this is an extremely simplified to-the-point version of what went on here; I couldn’t have imagined all the tiny, never-ending measurements and decisions that would go into a kitchen renovation! Half of the time I was so overwhelmed, I was tempted to let someone else decide for me. Fortunately, David is a very patient man who is very methodical about all his decisions, so he really helped me to think through all the options and made sure I got just what I wanted. (If you have an engineer type in your life, they come in pretty darn handy on emergency renovations!)
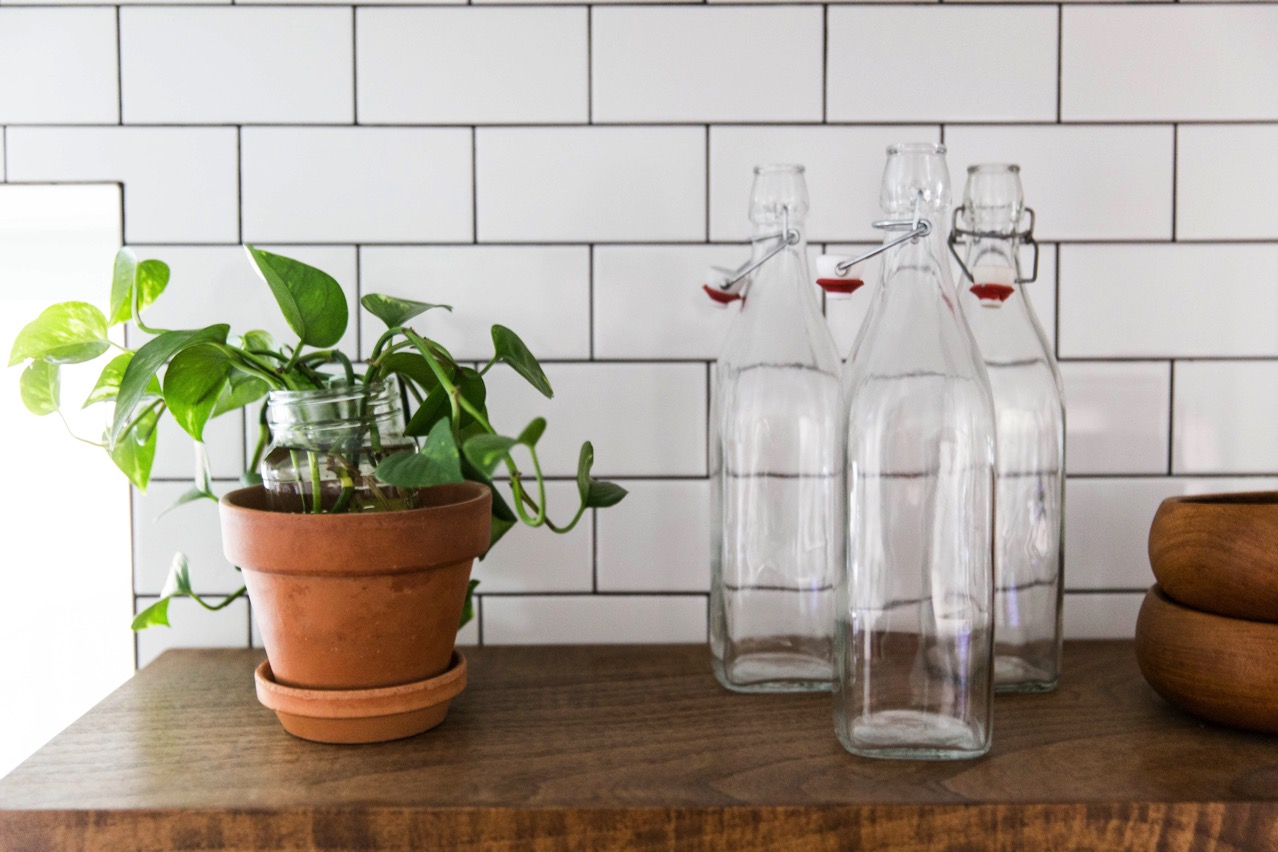

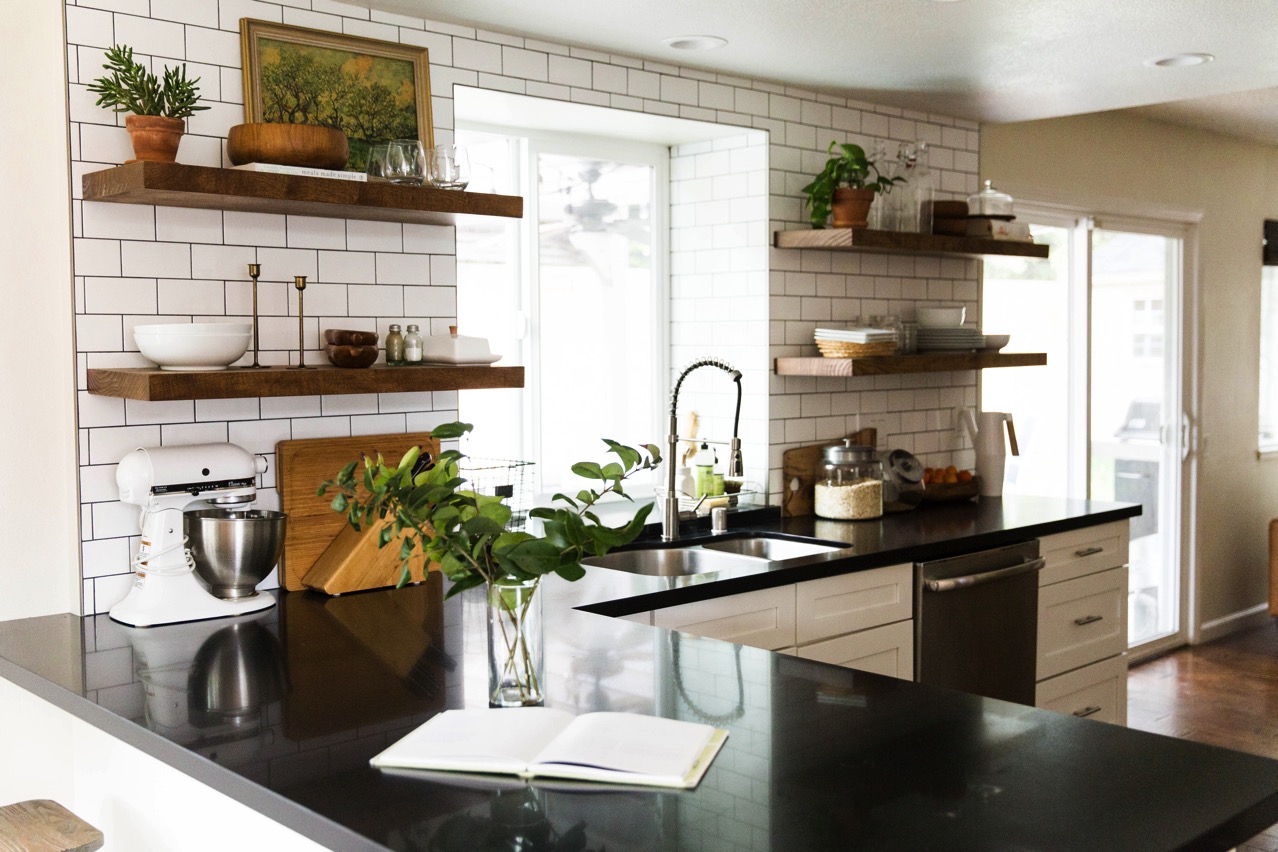
As you can imagine, our contractor became like a family member as he was in and out of our house almost as much as we were. (I mean he came over this Christmas Eve with a pie!) He asked if having a new kitchen made me want to cook more…the answer to that is definitely YES! I hope you enjoy this kitchen tour, and if you want to see a “before,” check out this blog post here! Happy touring!